Posts

3D printing final

Image
  This is my partners initial concepts these were mine We ended up combining the spherical form with the square hole from mine with the cage/tube like quality of my partners objects.

PaperCraft Final

Image
  This is what I have so far. The arm and head are posable While I was working on the project I found that magnets are really good to help hold tabs in, as long as you have a way to get them out afterwards. for cutting black paper I printed on white paper then connected with magnets and cut both. Here you can see that the hat can detach like a normal minifigure. I made the head here slightly differently than I made it in the prototype, and I found that the order you glue things can make a big difference and make it easier. I also found that cloth pins work to hold parts in place. In conclusion even though I didnt get it all done for the due date I'm still going to keep working on the rest of the project.

PaperCraft Prototype

Image
For the Prototype I just did the head. The 4 face planes were made with regular printer paper. The rest was made out of cardstock paper.  I used a paperclip to crease the lines, then cut it out and glue it. I found out you can speed up the cutting for the tabs by using scissors since it doesn't have to be as accurate except for the corners where it meets the faces. I unrolled the head by making a bunch of vertical slices. For the main version i might try attaching all the slices to the base of the head first and then building up.

07 Papercraft Object Prototype

Image
  The object I decided to recreate is a Lego minifigure. I still have to unwrap it and redo the face.

Project 5 8 unwraps of objects

Image
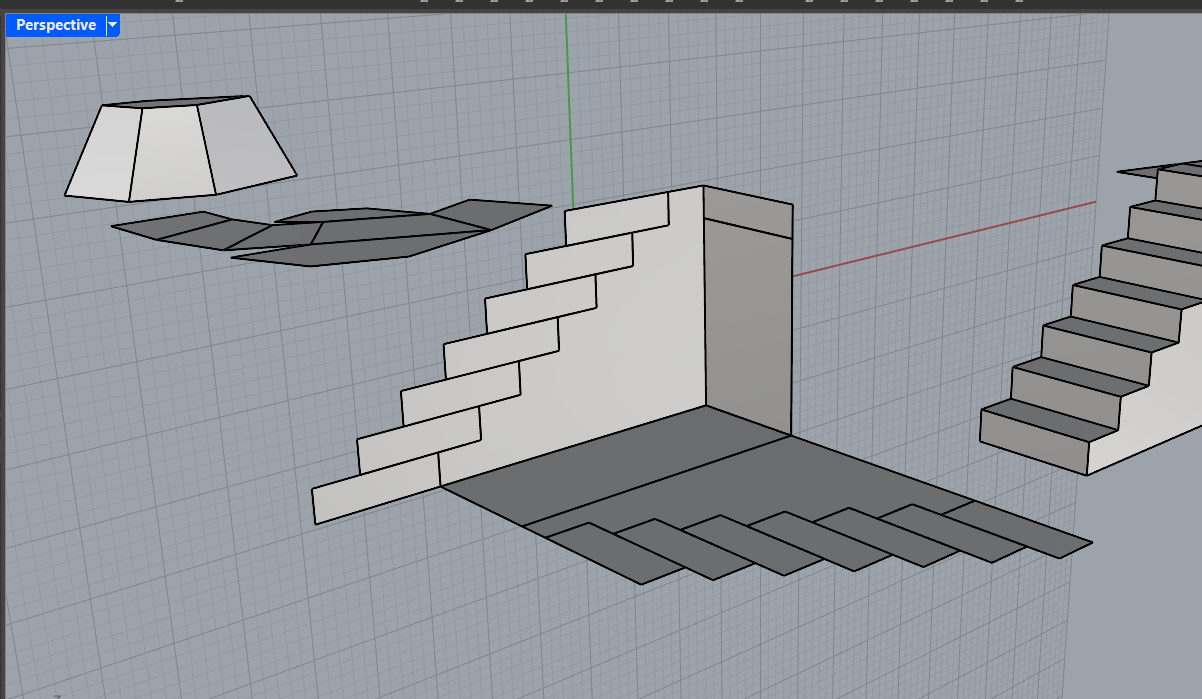
8 unwraps of an object. I found a error that the ground plane would move around and rotate to whatever I select. But I found out that in the bottom theres a button called Auto Cplane and I acidently enabled that Another error I had is that the unroll command would spread all the faces out disconected. I had a little bit of trouble making it unroll flat, but I found out you can make sure its flat by making sure your only selecting points on one poligon when you rotate. ___________________________________________________________________________________ ___________________________________________________________________________________ ___________________________________________________________________________________ ___________________________________________________________________________________ This one I did 2 different unwraps, for the one in the top right I found its faster to just copy the parts, then move and rotate with osnaps. _________________________________________________

Papercraft research

Image
We are making 3d objects out of paper. Before we do that we are researching different kinds of paper craft. There are many ways to make things out of paper. The artist I have chosen for my inspiration is  Hoang Tien Quyet 1 2 3 4 5 6 7      The works have lots of curvature and shape. You can use your eyes to follow lines that flow through the entire object. The curving shape of the paper helps make the animals look more natural. I also noticed some of the objects have textures. Number 5 has a texture on its body that makes it look soft and bushy.           The overlapping curves and shapes remind me of the way cars are designed. Especially with Number 6, because of the ways the curves flow through the whole object, and create overlapping points, points of tension, and curvature. The form is also made into very simple large shapes.      These objects are made with a special technique where you make the paper damp, and it allows for more naturally shaped folds instead of sharp folds. In